Rv Awning Spring Tension Adjustment

Rv Awning Repair Re Tensioning The Spring Doityourself Com

Rv Awning Tension Adjustment Service In Chehalis Olympia Wa Awesome Rv
Rv Awning Repair Read This Before Starting Your Repair Rvshare Com

Rv Awning Repair Releasing The Spring Tension Camper Awnings Rv Awning

Awning Adjustment Youtube
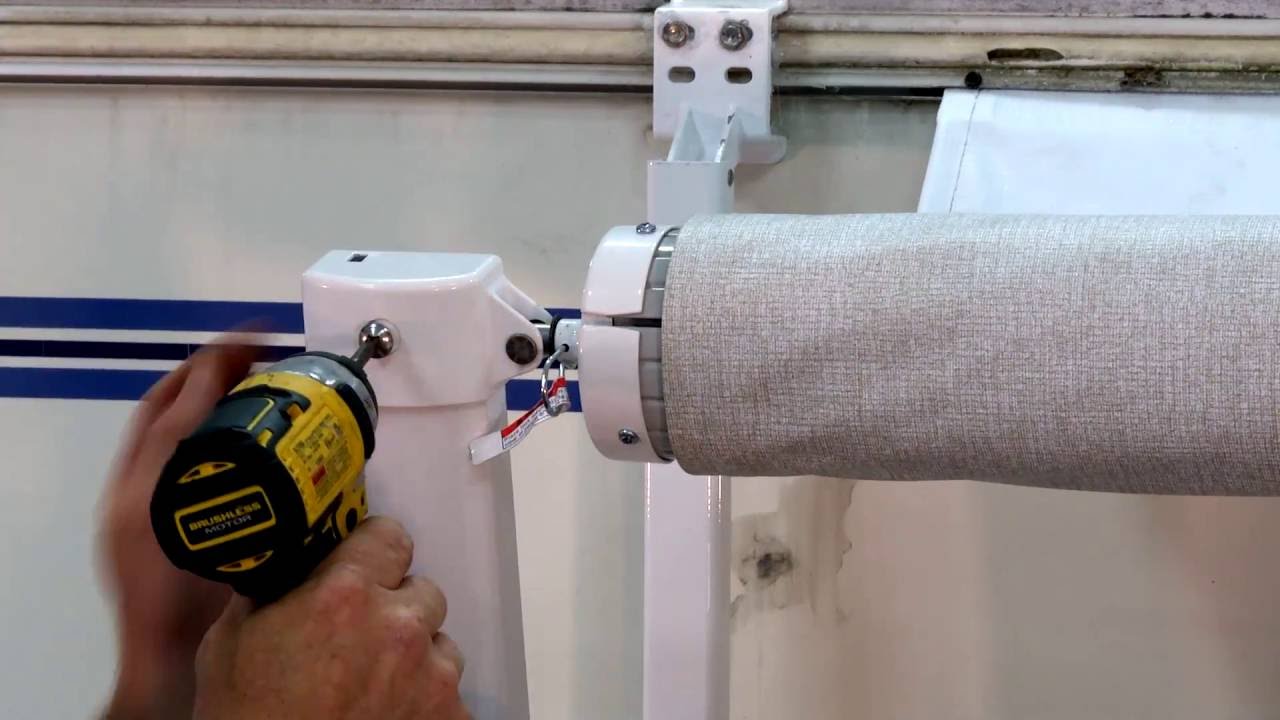
Solera Awning Replacing A Manual Awning Spring Assembly Youtube

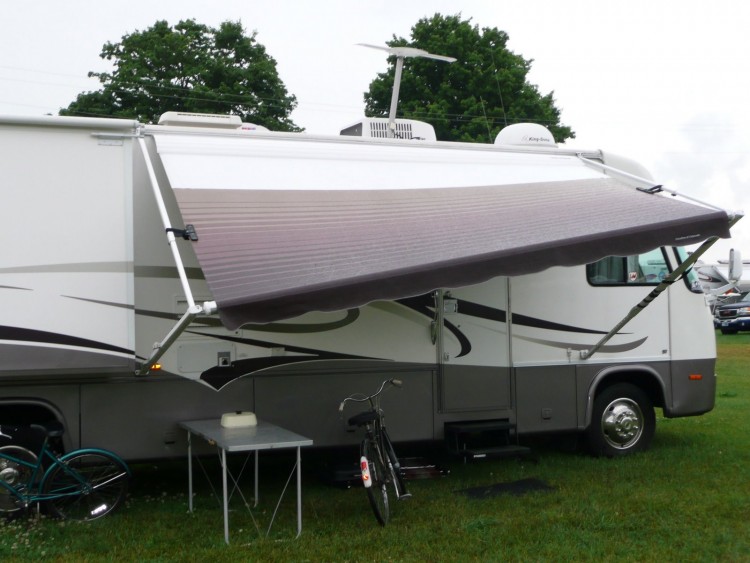
Push the aluminum pole in its extended length up to the rv wall and down to the lip of the awning under the awning itself.
Rv awning spring tension adjustment.
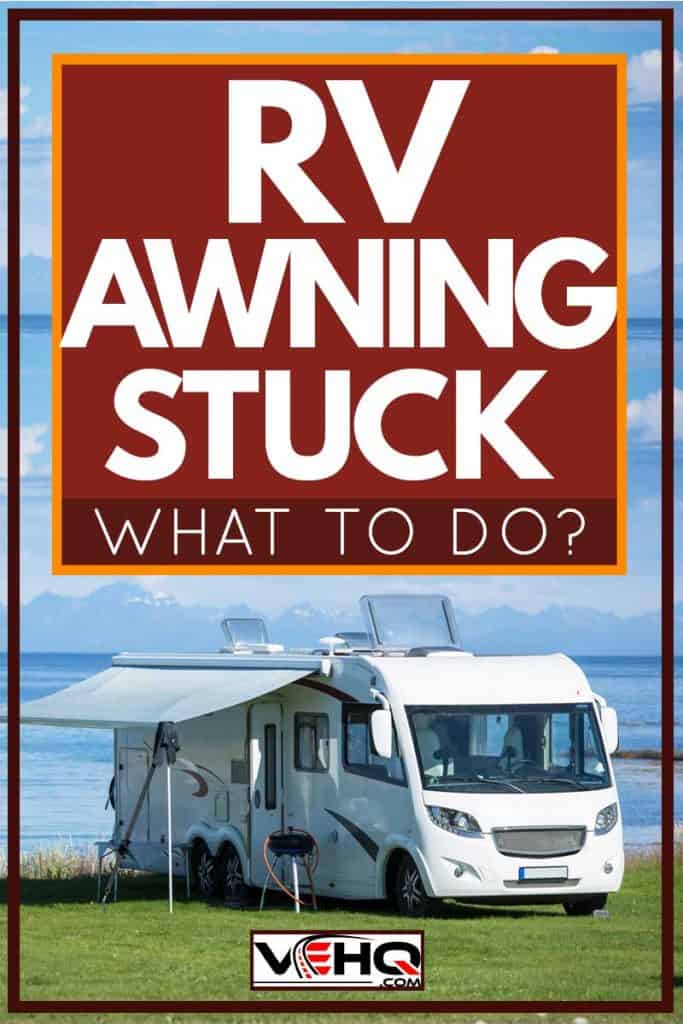
Rv Awning Stuck What To Do Vehicle Hq
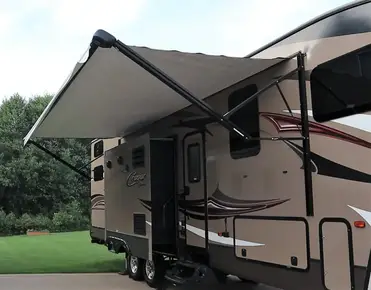
Power Awning Won T Retract How To Test And Replace Rv Awning Motor

This Is How I Use A Pvc Tube As A Tarp Awning Leg I Drill A Hole Through The End And Tie A Rope Through It A Spring Clip Holds I

Replacing Rv Awning 2 0 The Easier Way To Do This Youtube
Source : pinterest.com
